world’s widest range of cold-drawn welded tubes
Cold-drawn welded tubes
The Marcegaglia Carbon Steel plants in Boltiere (Bergamo) and Rivoli (Turin) produce the world’s widest range of cold-drawn welded tubes, products with extremely advantageous characteristics.
Full body normalizing of the shell stock after welding, in fact, ensures that both the welding and the surrounding areas are metallographically and mechanically homogeneous with the rest of the tube, returning a product with an improved quality surface, reduced eccentricity and greater toughness at low temperatures.
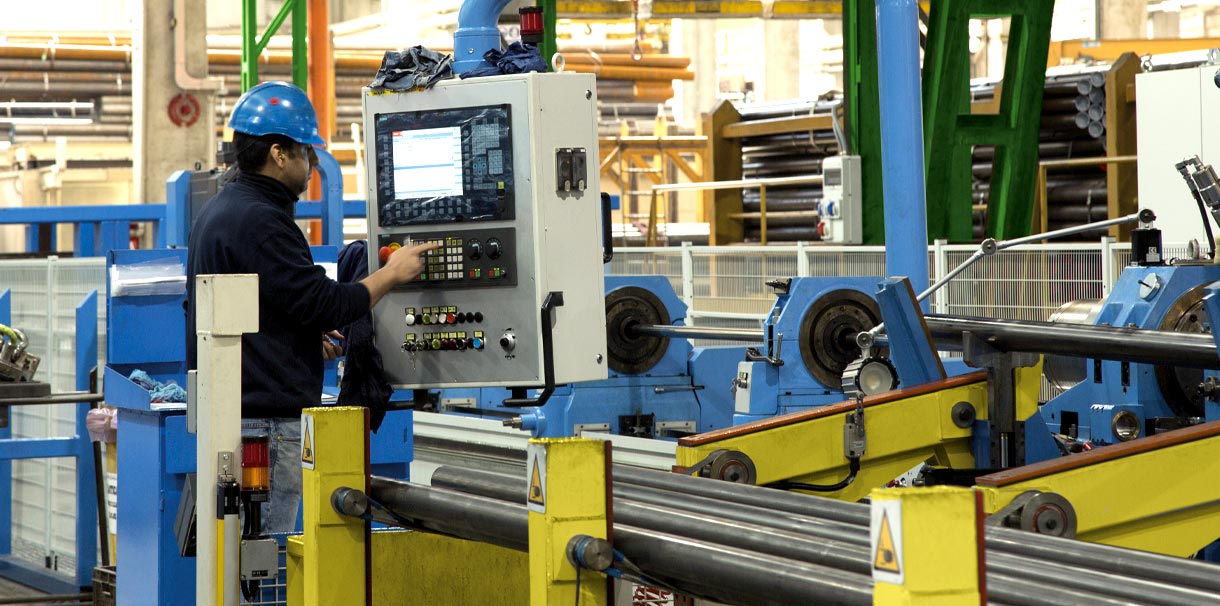
Cold drawn tubes are controlled during the entire manufacturing process with full body ultrasonic tests, to guarantee the high quality standards that are typical of all Marcegaglia products.
Marcegaglia Carbon Steel production is characterized by a dimensional range with an external diameter from 15 mm to 245 mm and thicknesses from 1.5 mm to 15 mm.
Discover our full range:
download the product catalog now and find
the solutions that best meet your needs
Discover our full range:
download the product catalog now and find
the solutions that best meet your needs
PRODUCT RANGE
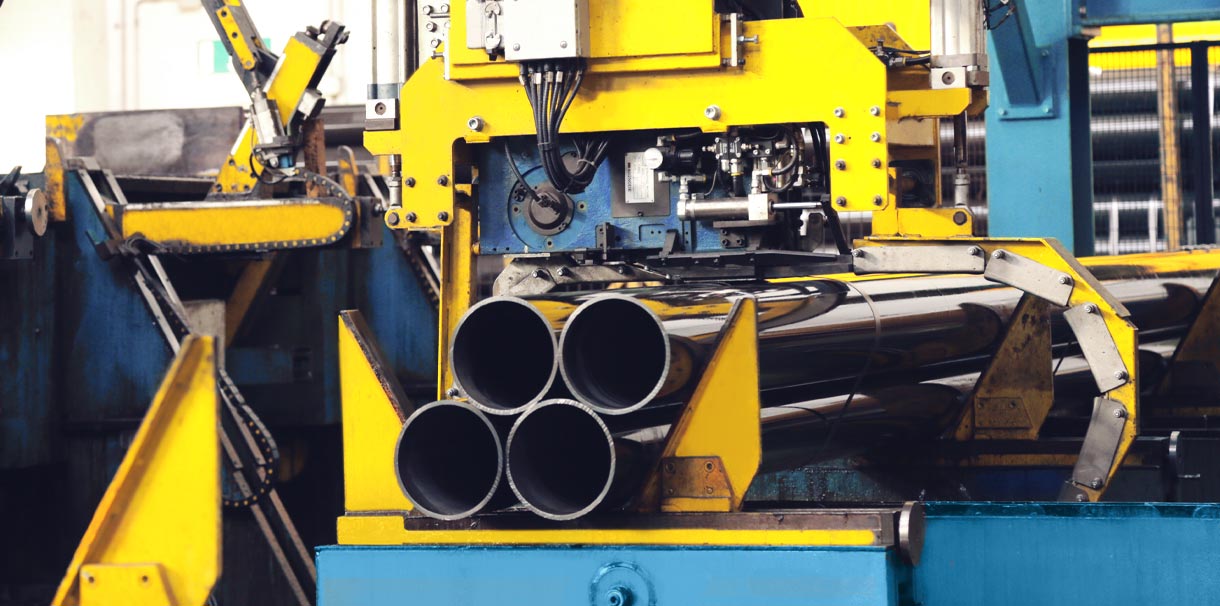
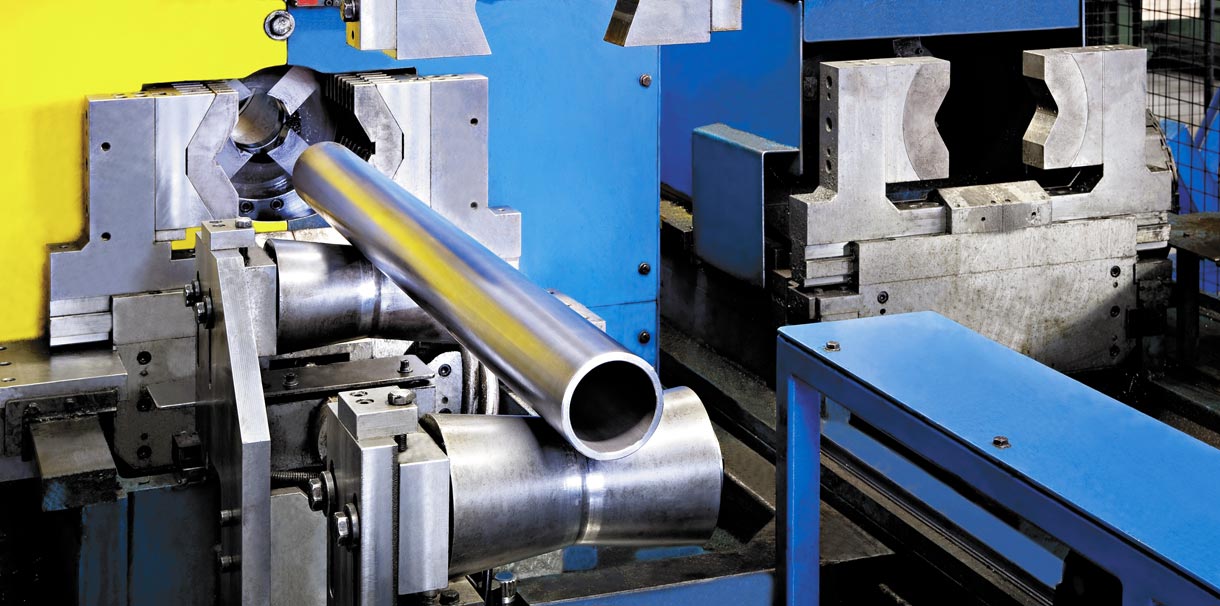
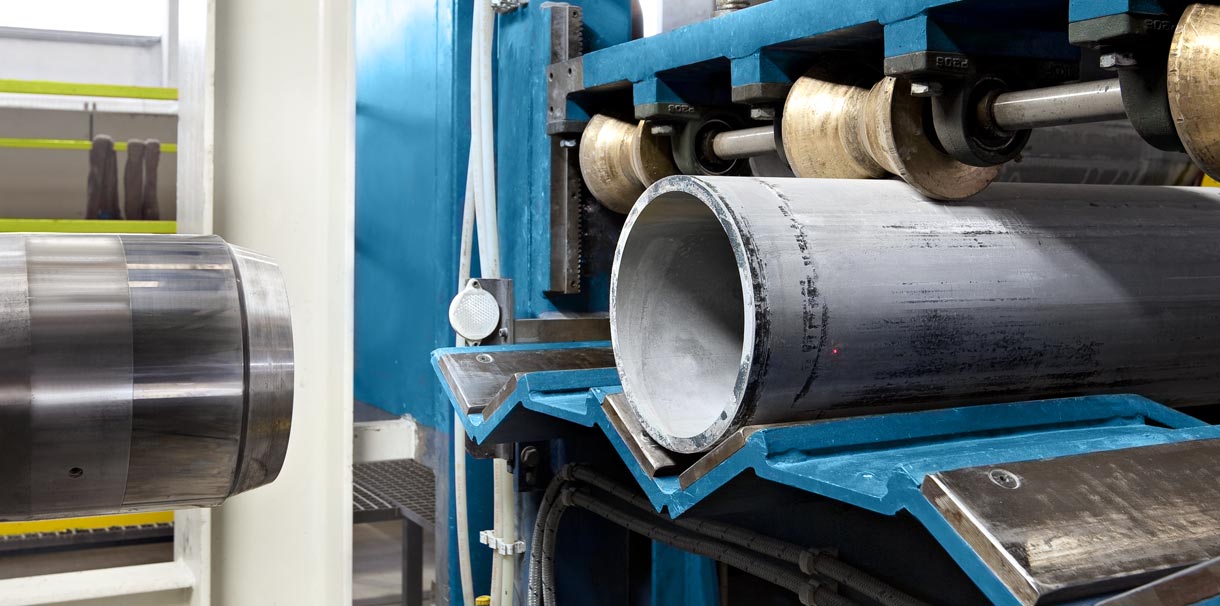
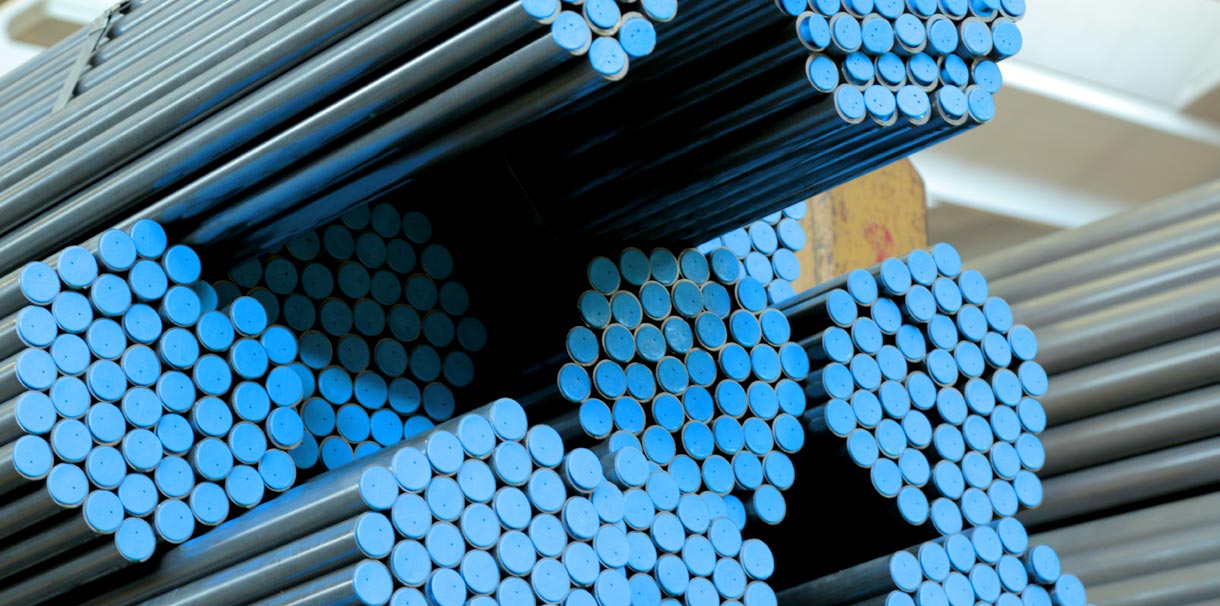
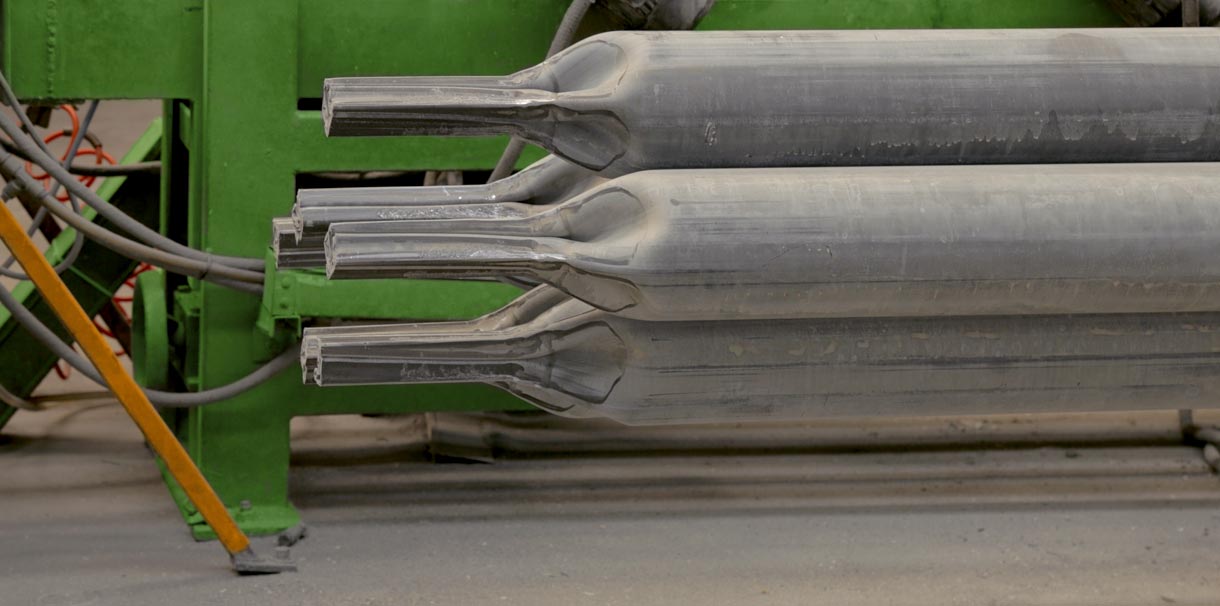
The production range includes tubes for cylinder ready to use H9, tubes for cylinders suitable for honing or skiving & roller burnishing, tubes for cylinders finished H8, tubes for telescopic cylinders, tubes for piston rods, tubes for automotive and mechanical applications, tubes for cardan shafts.
All products are conforming to the manufacturing standard EN 10305-2 in the following grades: E195, E235, E275, E355, E460.
Marcegaglia once again stands out for the variety of its products, suitable to satisfy every industrial sector with different solutions, always guaranteeing high quality standards.

Quality and environment
The production chain of Marcegaglia Carbon Steel cold-drawn tubes is ISO 9001:2015 and IATF 16949:2016 certified.
In 2019 RINA awarded the Boltiere plant “Best4 ISO 26000:2010” certification, reserved for companies certified in the Quality, Environment, Safety and Social Responsibility sectors (ISO 9001, ISO 14001, BS OHSAS 18001 and ISO 26000:2010).
The Boltiere plant, like other companies in the Marcegaglia group, is also ISO 50001:2011 certified for energy.

Information request
"*" indicates required fields
Tubes for cardans
Tubes for cardan shafts and mechanical transmissions are designed to provide torsional resistance, durability and dependable performance.
They are used in car axles, truck axles, land treatment, harvesting and forestry, where dynamic loads require high-quality materials and precision manufacturing.
Suitable for honing, skiving and roller burnishing tubes
These tubes are engineered for subsequent internal finishing processes such as honing, skiving or roller burnishing.
Their versatility makes them suitable for earth moving, buildings, material handling and transport, delivering dimensional consistency and dependable performance even under demanding conditions.
Ready to use cylinder tubes H9
Ready-to-use H9 cylinder tubes are designed to deliver high precision and excellent internal surface quality.
They are widely employed in agriculture and lifting applications, ensuring smooth operation, reliability and long service life.
Automotive applications
The automotive industry demands reliable, high-performance and precise materials. Marcegaglia carbon steel meets these requirements with a complete range of coils, strips, sheets and tubes designed to ensure strength, formability and consistent quality.
Used in structural components, safety systems and mechanical parts, Marcegaglia steel guarantees high performance even in critical applications, supporting processes such as stamping, fine blanking and welding. A solid and competitive solution for all major automotive applications.
Tubes suitable for chrome plating
These tubes are developed for hydraulic rod manufacturing and are intended for subsequent chrome plating.
They ensure high surface cleanliness, excellent machinability and mechanical strength, supporting corrosion resistance, durability and top-level hydraulic performance.
Tubes for telescopic cylinders
Tubes for telescopic cylinders guarantee strength, precision and smooth extension and retraction movements.
They are used in light tipping, industrial and agricultural applications, where robustness and long-lasting performance are essential.
Skived and roller burnished cylinder tubes H8
Skived and roller burnished H8 tubes offer extremely tight tolerances and excellent internal surface finishing.
They ensure efficiency, operational stability and durability, making them ideal for high-pressure hydraulic systems and applications requiring maximum reliability.

